Write post-mortems in the dashboard
November 27, 2024

One of the things we’ve heard repeatedly is that writing post-mortems often feels harder and more heavyweight than it needs to be. Writing a comprehensive post-mortem in an external system can feel like overkill when a quick and easy writeup would do the trick, which means many incidents get a written summary, but not much else.
Well, we’re incredibly excited to announce that you can now write and complete post-mortems directly within incident.io 🎉.
We’ve written a help article on our new dashboard post-mortem experience here — read on for the highlights!
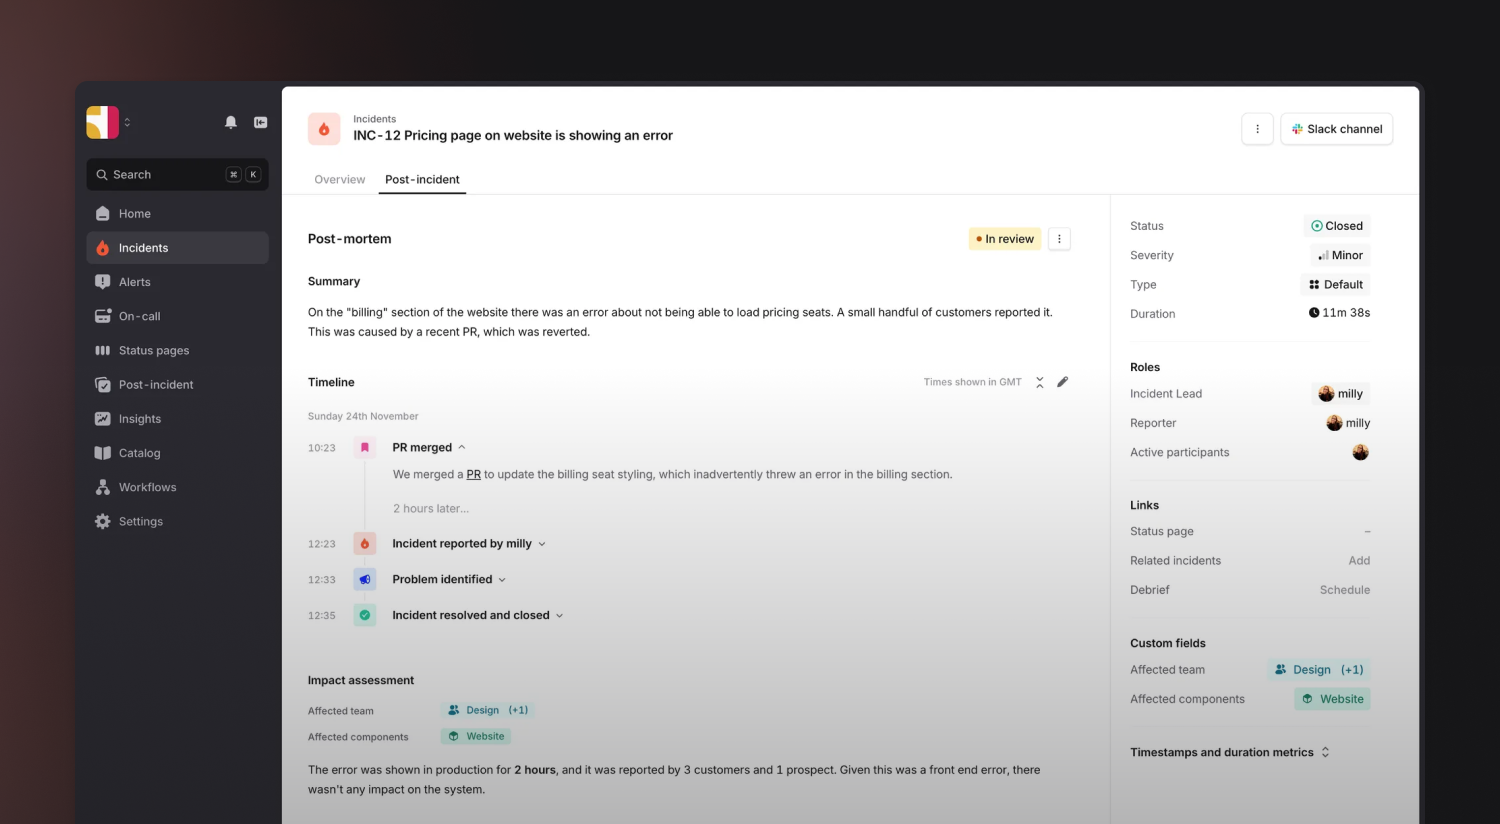
Whilst we know this won’t work for everyone, a few benefits of writing post-mortems in incident.io include:
- One “source of truth” for post-mortems 🧘
If the post-mortem was written in an external system, updates to the incident summary, metadata or follow-ups wouldn't be reflected within incident.io (and vice-versa). This has a knock-on effect on other features like Insights or auto-export of follow-ups to an issue tracker. - Richer experience ✨
We can render data like the incident timeline, active follow-ups, relevant custom fields, and timestamps in a much richer and more interactive way within incident.io. Post-mortems go from being a static document to something you can interact with in a more meaningful way. - Smarter AI suggestions 🤖
The more you document learnings, insights, and thoughts surrounding incidents and how you respond to them, the smarter you can be when it comes to things like AI-powered insights or spotting related incidents and trends. - Structure and consistency 🤝
Rather than documents starting similar in format, but potentially diverging, you can ensure incident write-ups follow a consistent and easy-to-skim format that everyone is aligned on.
Improved writing experience
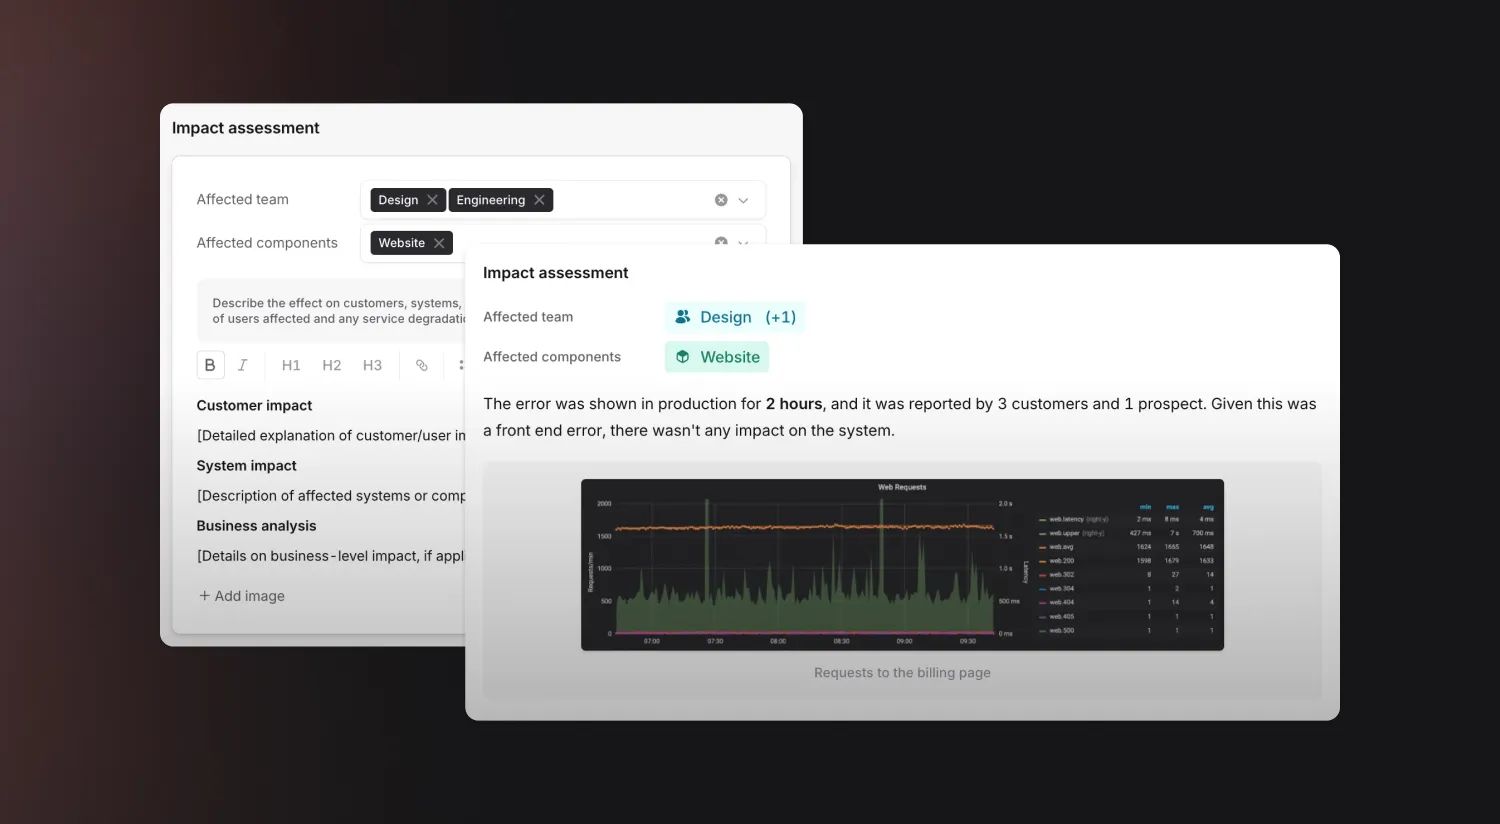
When writing a post-mortem in the dashboard, rather than a document with lots of placeholders, guidance, and text-only UI, responders get a much smoother and designed experience.
They get help text to guide them, the ability to quickly attach and ensure relevant custom fields are up to date and the option to add images as supplementary evidence - especially helpful for preserving charts from an observability tool.
Can I still export the post-mortem after writing it?
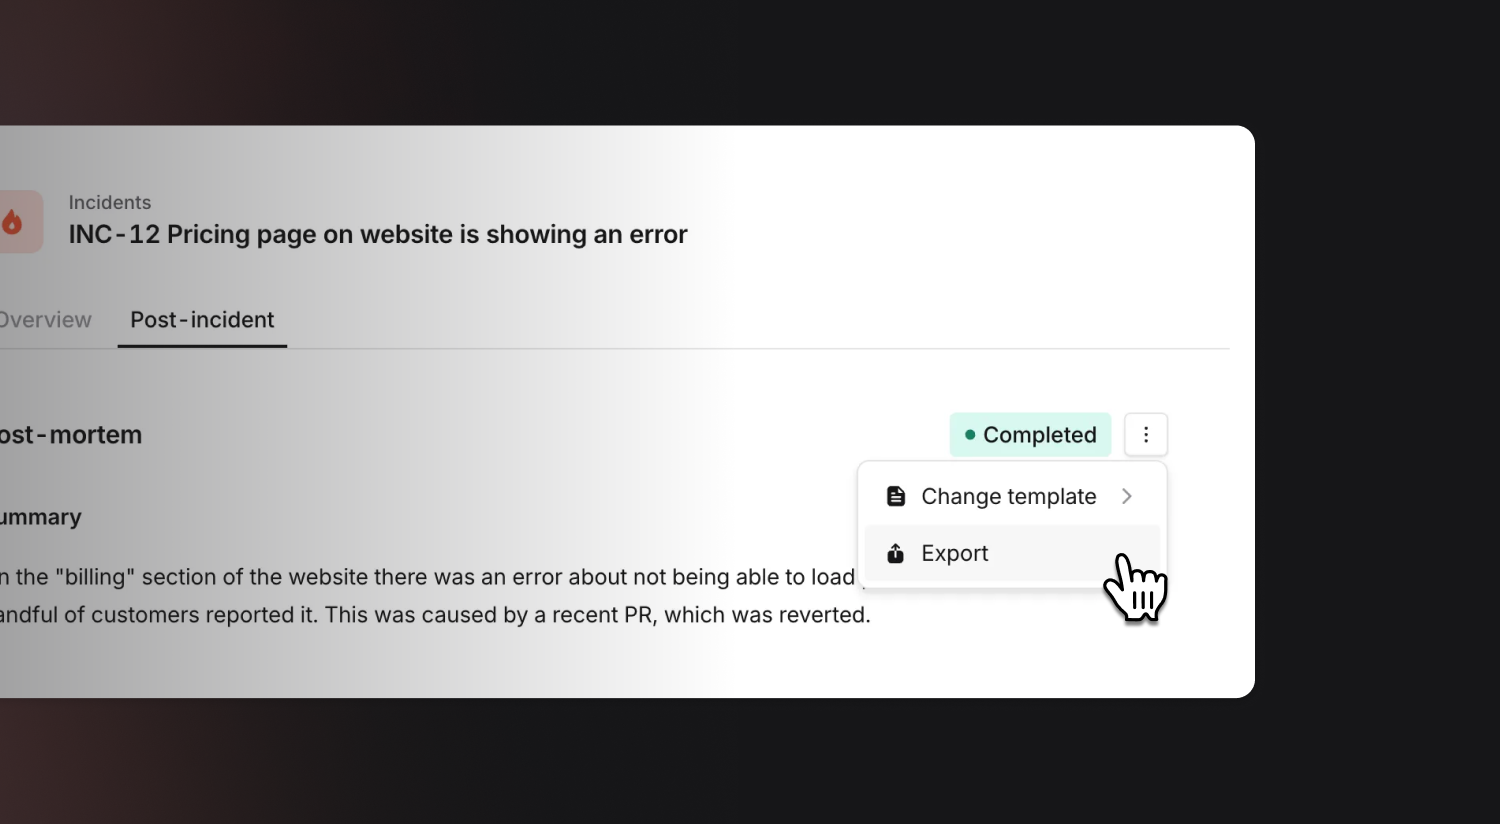
Yes! We know many customers might want rich data in incident.io, but still want to maintain a copy for their records and knowledge base in an external system like Notion, Google Docs, or Confluence.
No problem: when you’re finished writing the post-mortem just hit Export and we’ll move the contents over. This means you still get all the benefits of writing in the dashboard first, without breaking any company process or expectations.
You can configure whether a template will prompt you to write the post-mortem in the dashboard or an external editor. To add a new template for writing in the dashboard, or to configure this on an existing template, head to Post-mortem → Settings and click Edit on the template you want to be written in-house.
Want to see it in action? Check out the live demo walkthrough with our Co-founder and CPO, Chris:
New dashboard UI
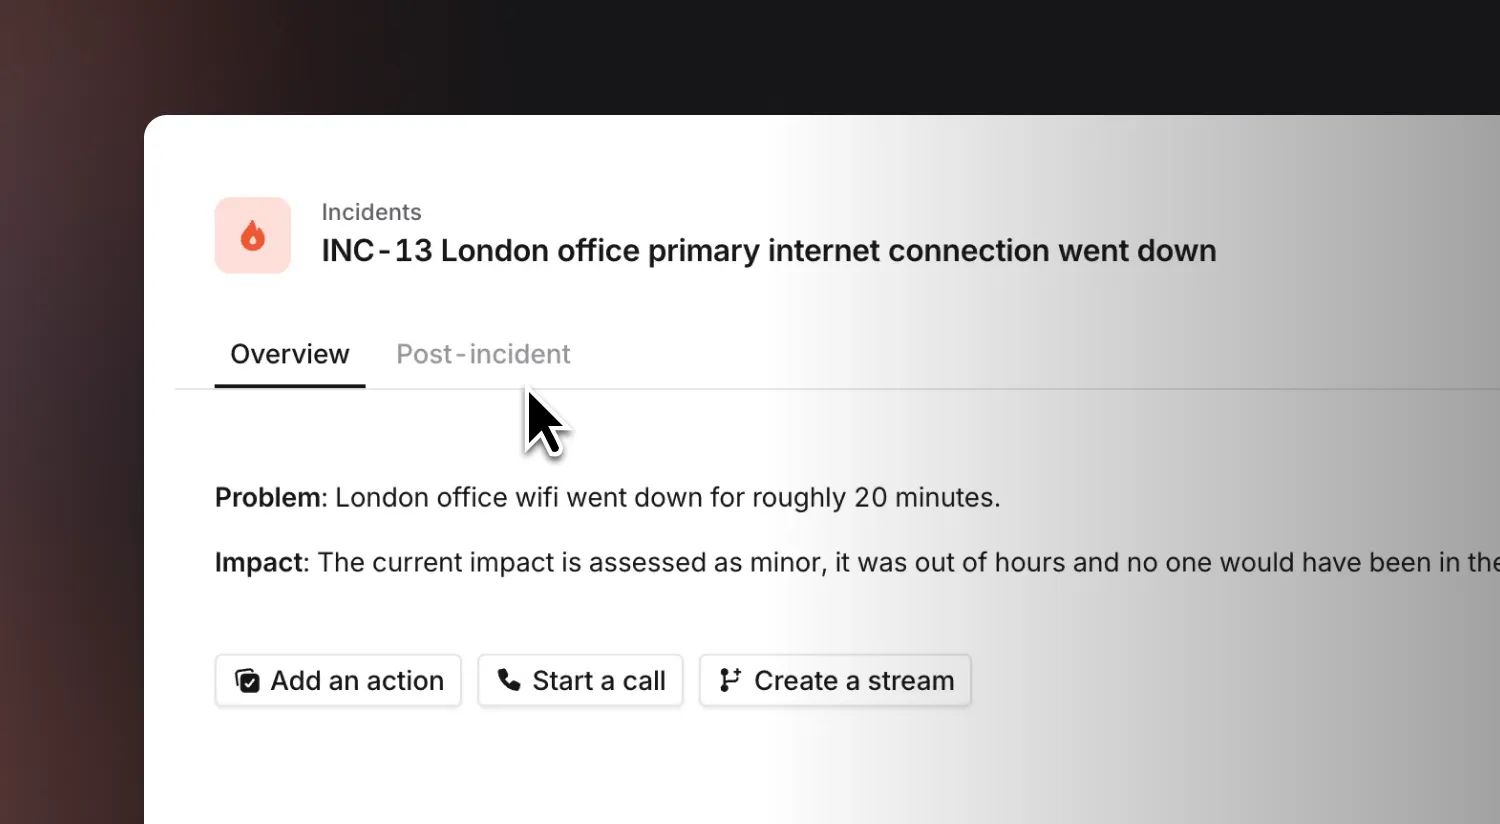
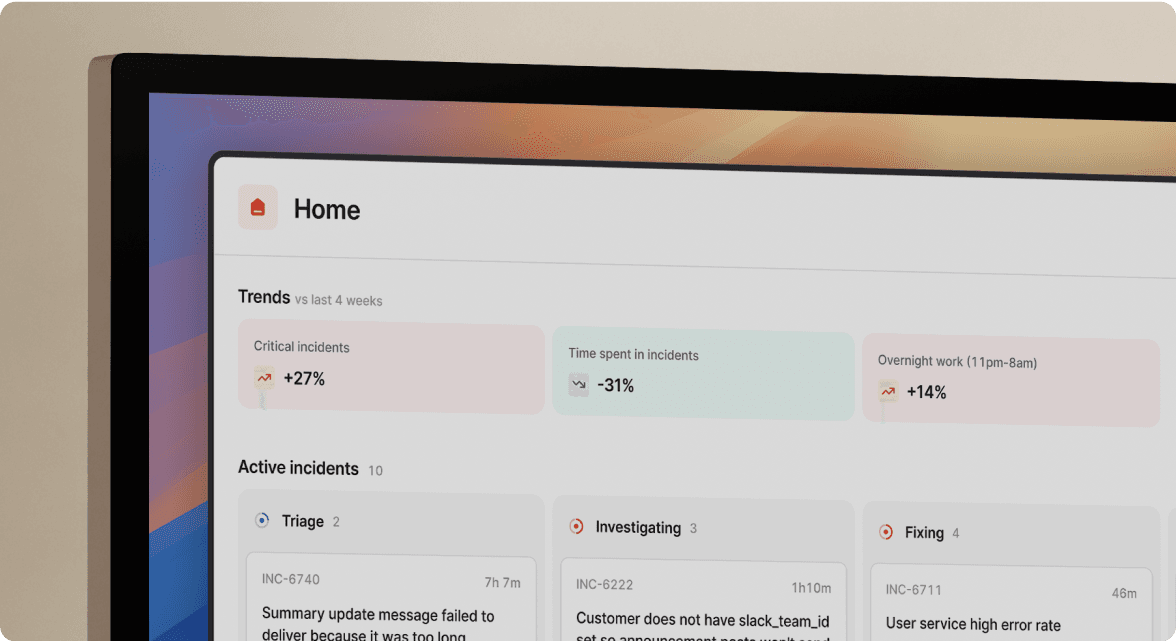
Last week was a big week for the dashboard! We also took the opportunity to take some of our newer design patterns and apply them to the incident homepage, which now looks much cleaner. Key changes:
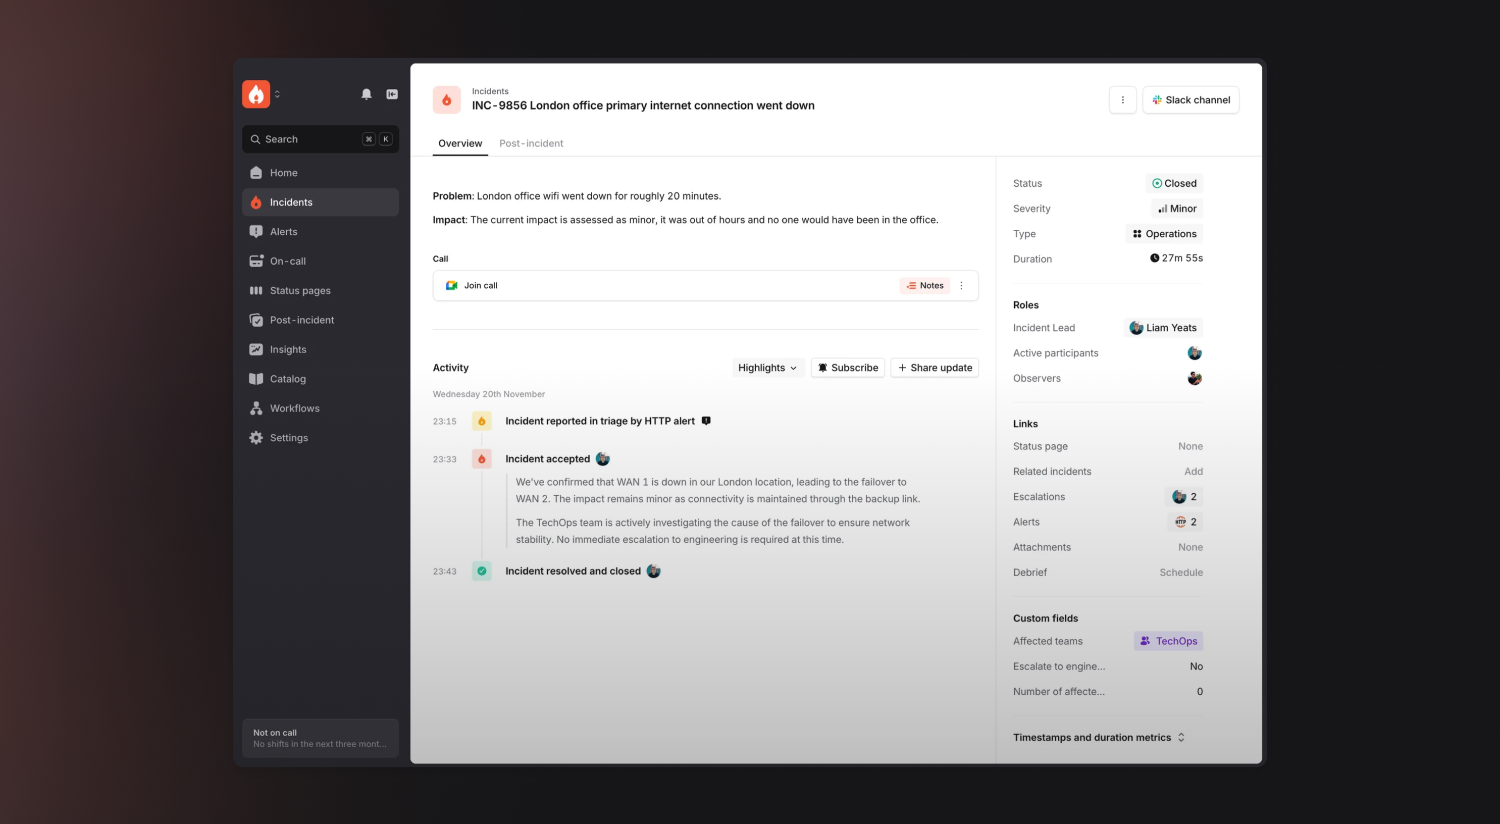
The “Overview” tab is now your one-stop-shop for a live incident
You can switch the activity panel from Highlights to All activity if you want to investigate the state of the incident at particular points, or who set a custom field.
We’ll now also highlight things you might want to do in order to get that incident resolved e.g. add an action, start a call, or create a stream.
We have a new “Post-incident” tab
This should be your go-to for ensuring everything is in order after an incident is over. Completing the post-incident flow, tracking follow-ups, curating your timeline, and writing a post-mortem, for example.
We’ve condensed more information into the sidebar
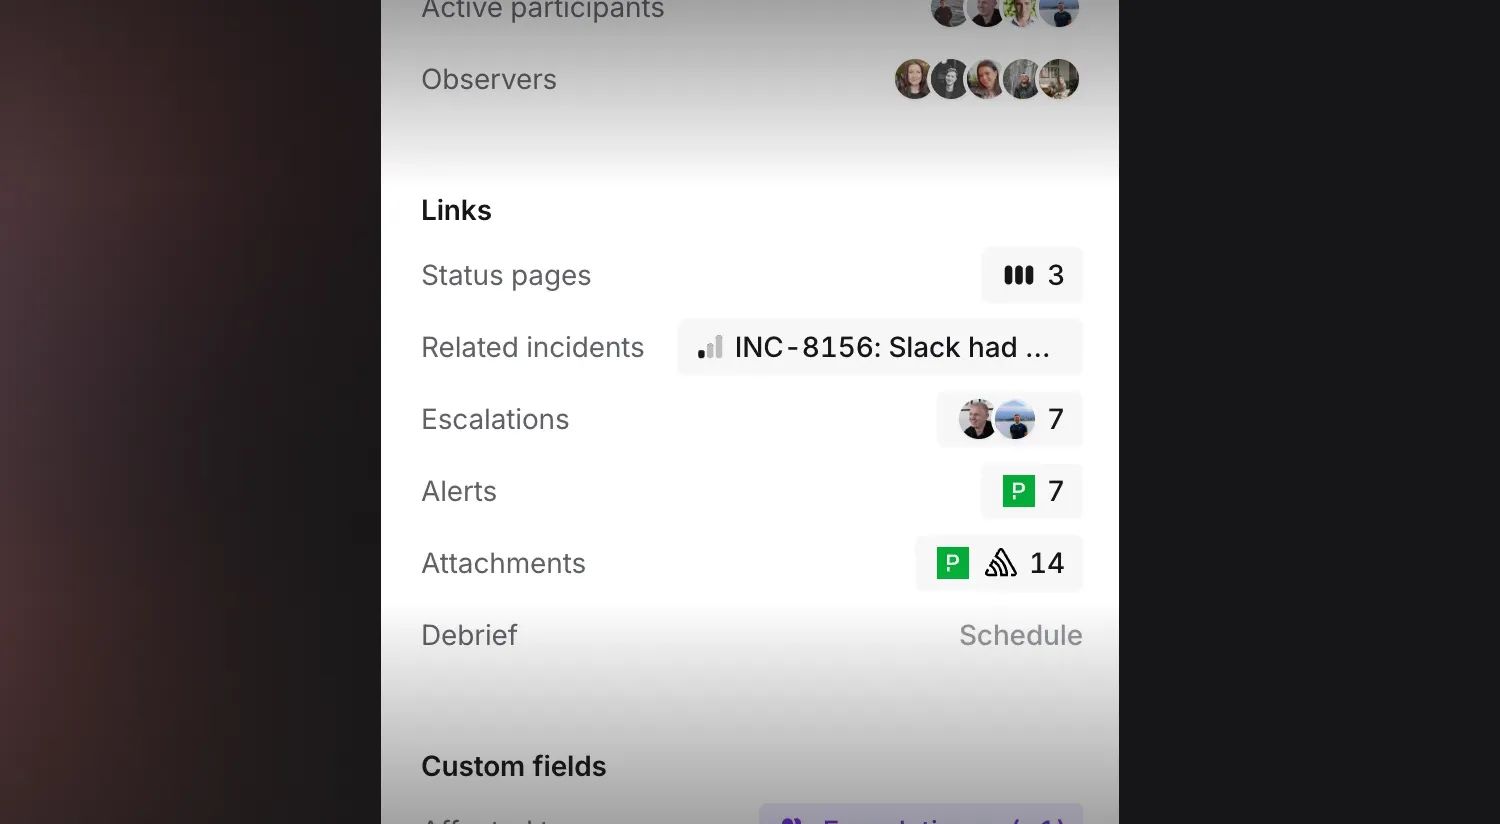
We’ve condensed a lot of information that was previously across multiple tabs and sections into the sidebar, making it easier to find what you need more quickly. In particular, we now roll up your escalation, alerts, and attachments to summarize which types of resources were involved.
🚀 What else we’ve shipped
Improvements
- Our mobile app now plays better with MDM-managed Slack distributions
- Escalation paths and schedules can now be opened in a new tab via cmd/ctrl+click
- The escalation path and user fields in the escalate form can now be reordered
- Improved our in-app instructions on how to configure SNS alert sources
Bug fixes
- If you had a very large number of Slack groups, we would sometimes fail to show which group a schedule is synced to
- When escalating to a channel in a Grid organization, we will no longer sometimes post the escalation message multiple times
- When an escalation is acked after first being acked, the escalation message in the channel will now show up as acknowledged
- Fixes an issue where the keyboard could cover up the text input on iOS if you had a long escalation form
- Fixes an issue where you couldn't edit an existing override using natural language input
- Fixes an issue where exporting a schedule to Terraform would create an invalid Terraform code in some cases
- Fixes an issue where an expression's fallback value was incorrectly marked as required when editing an existing alert attribute expression
So good, you’ll break things on purpose
Ready for modern incident management? Book a call with one of our experts today.
We’d love to talk to you about
- All-in-one incident management
- Our unmatched speed of deployment
- Why we’re loved by users and easily adopted
- How we work for the whole organization


