Timestamp form overhaul
September 11, 2023

Editing your incident timestamps can sometimes be a tedious process, and the way we displayed timestamps in our update modal didn’t make it much easier. So, we spruced up our timestamp modal to make it a bit easier to update!
To start, we moved any automatically set timestamps into an accordion to avoid unnecessary clutter. That way, you can focus primarily on the manually set timestamps while editing. Don’t worry, you are still able to expand the list of automatically set ones if you need to make any further adjustments there.
We’ve also done some general styling improvements for better readability, and made it easier to copy timestamps to your clipboard. Plus, if you are a fan of ISO8601 formats, you can input timestamps in that format now!
Set custom date and time for next update
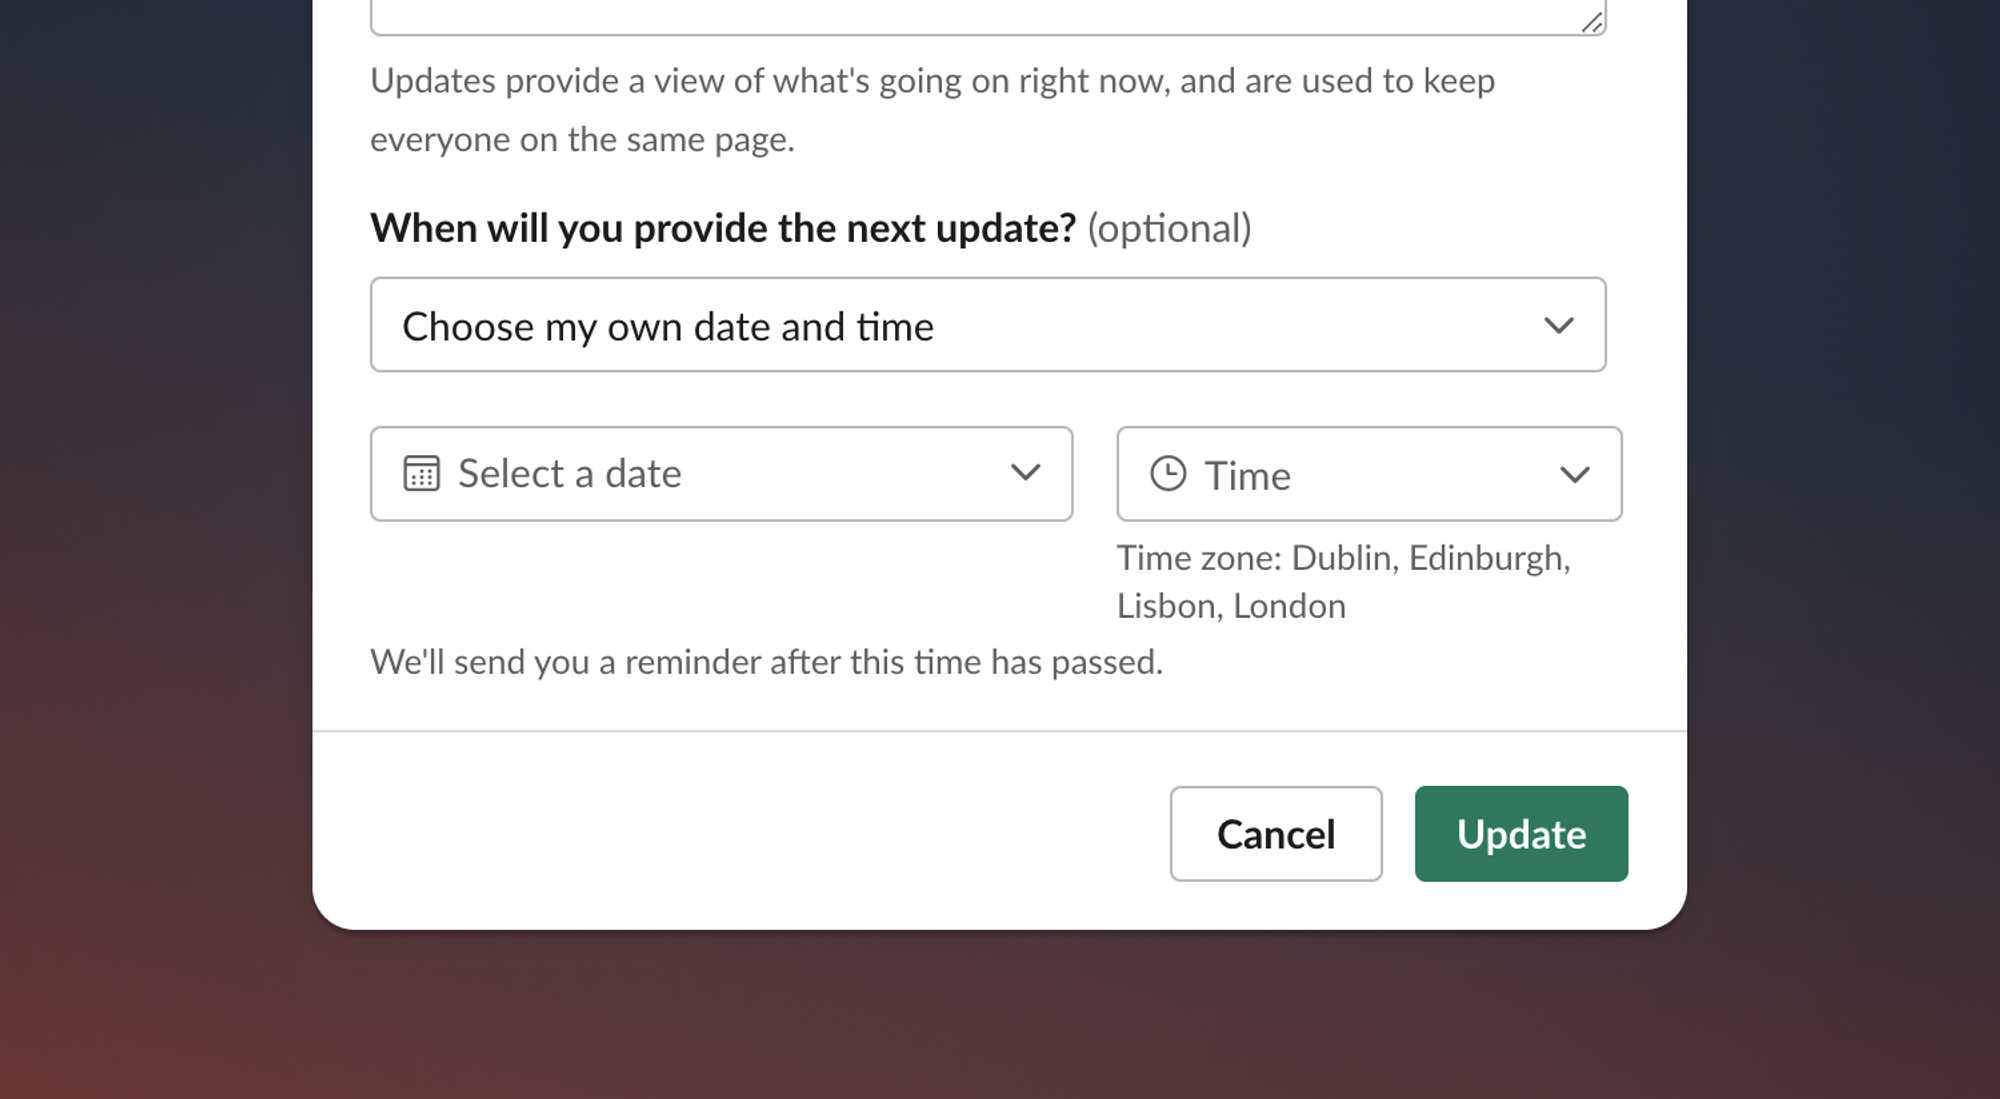
You can now choose a specific data and time for when you'll provide the next incident update. For example: next Monday at 9am instead of in 30 minutes.
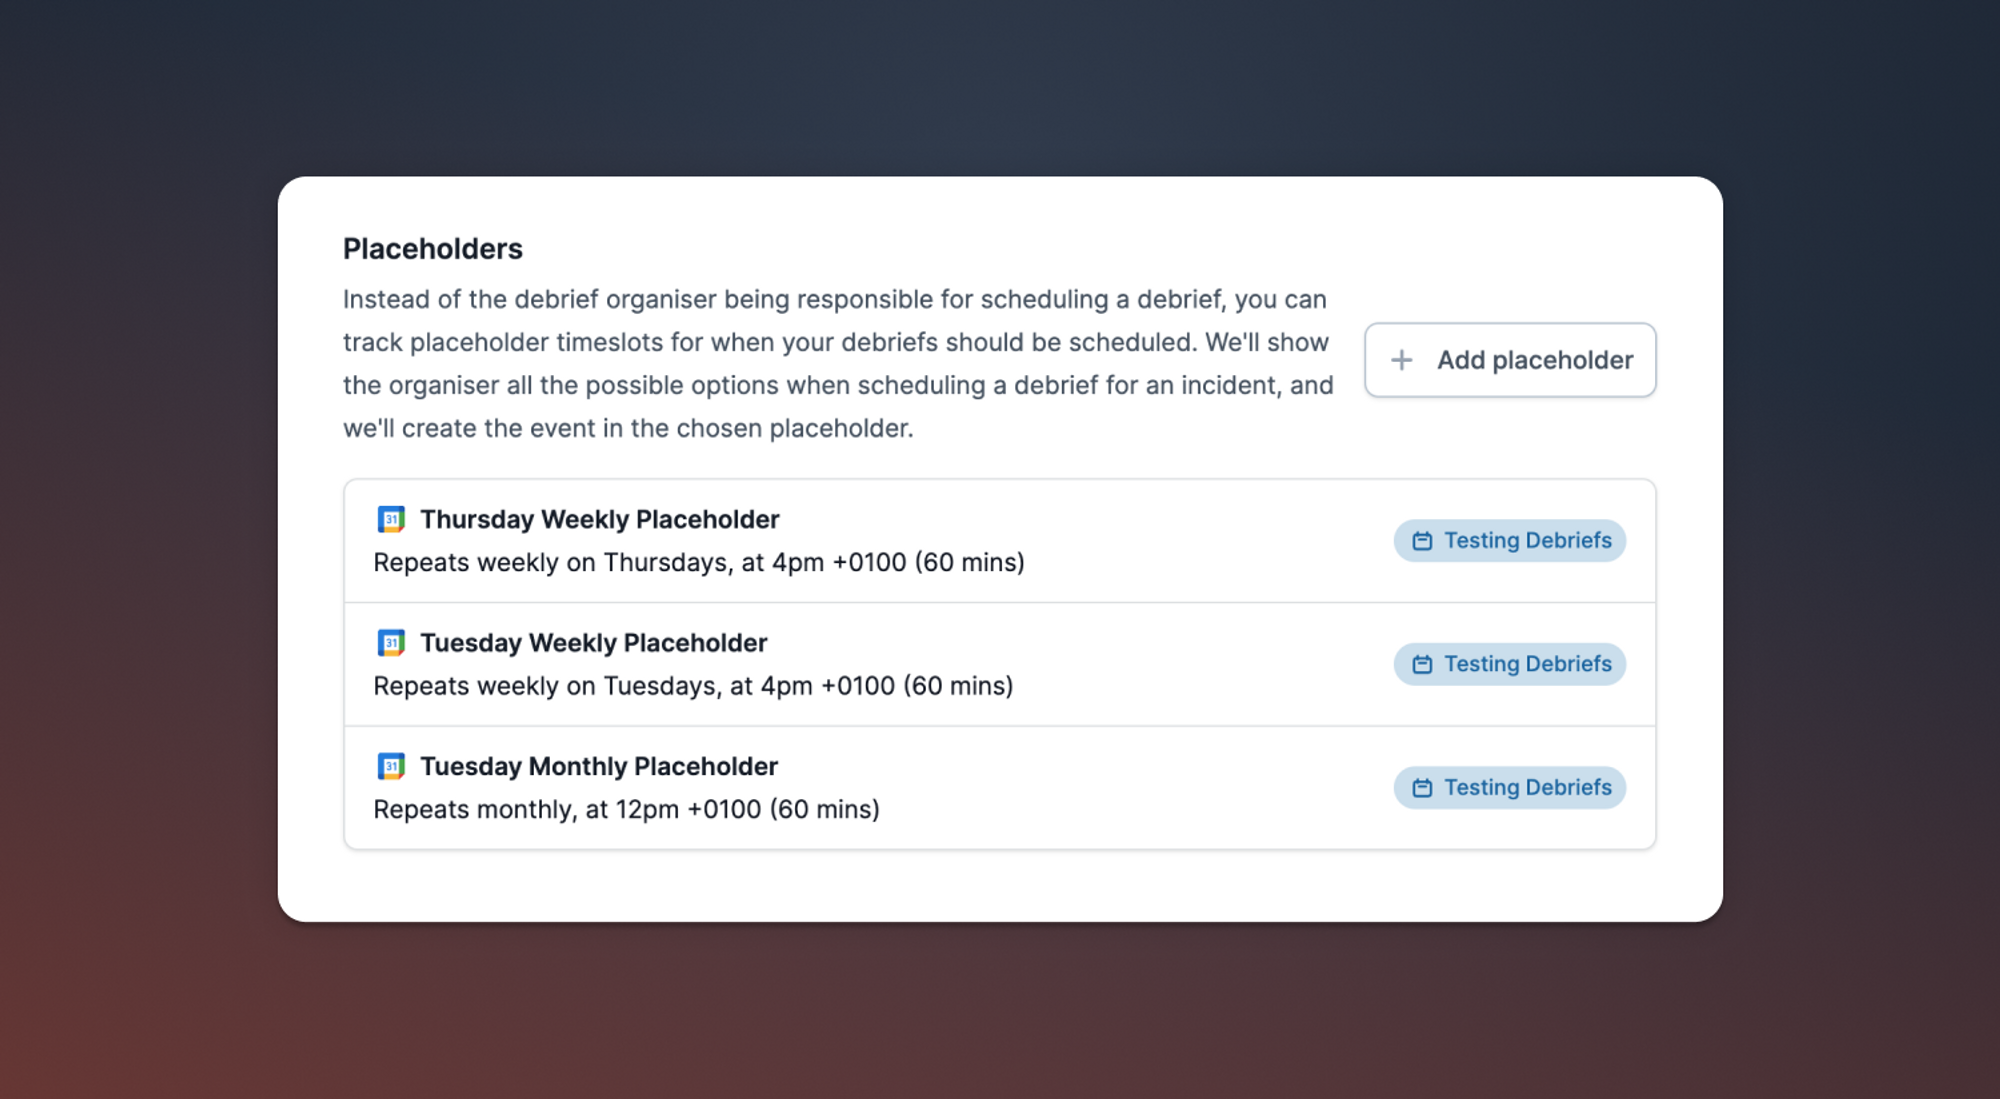
Debrief placeholders
By default, we help responders schedule a debrief by pushing them to a pre-filled Google Calendar event with the right people on the invite list. This means that a responder is responsible for finding a time that works for everyone, using the Google Calendar interface.
If your attendees are on different timezones, or have very busy schedules, this can be trickier to schedule. You might want to pre-emptively invite everyone to regular placeholder events to keep time available for debriefs. If you don't have any incidents that require a debrief, then great, everyone gets the time back!
To set up placeholders, simply go to the Debriefs section under Settings.
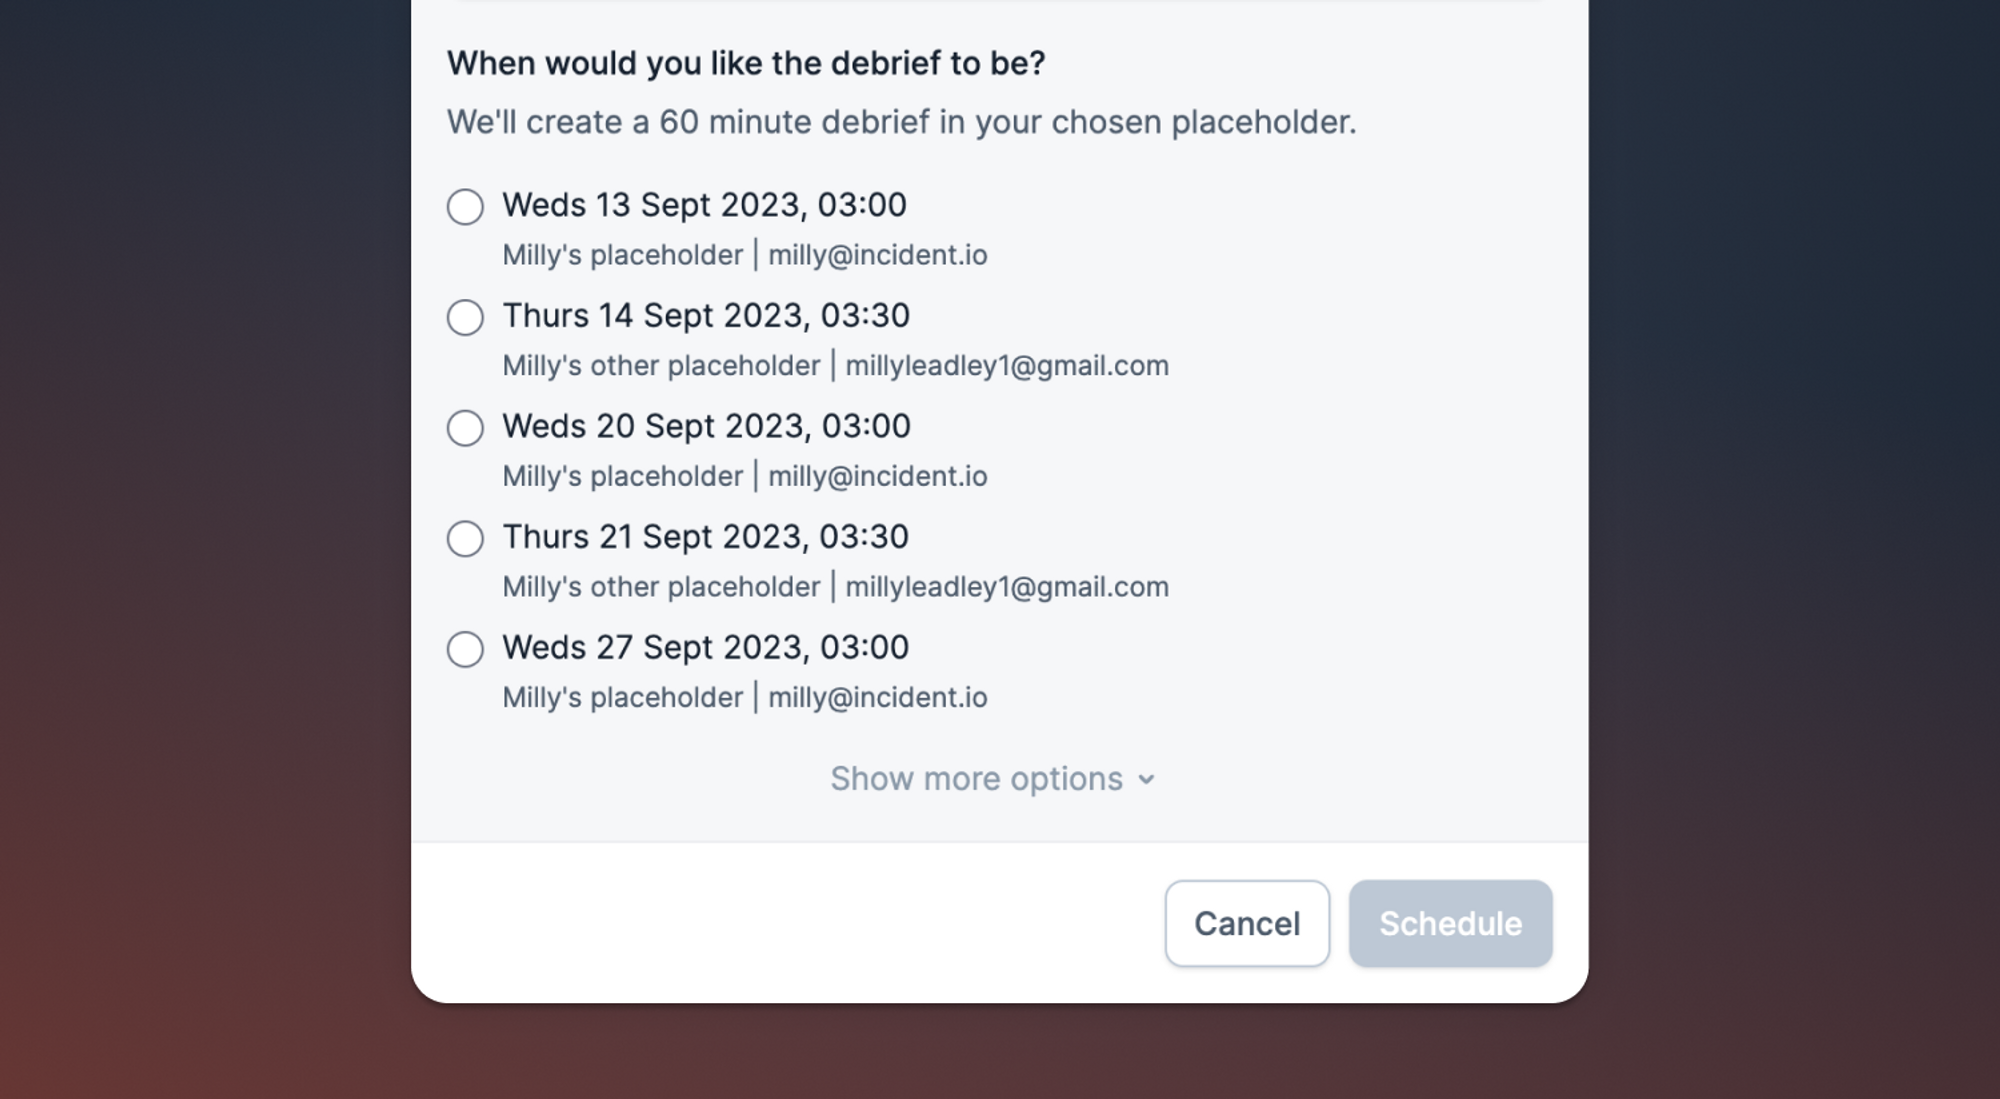
After that is set-up, when a responder needs to schedule a debrief, they can select the best option and we'll schedule the event for you, using your default title and description, etc. The event will get attached to the incident immediately, so everyone knows when it is. Neat!
Dig into our help article for additional information on how to set up your placeholders!
Expression-backed components for internal status pages
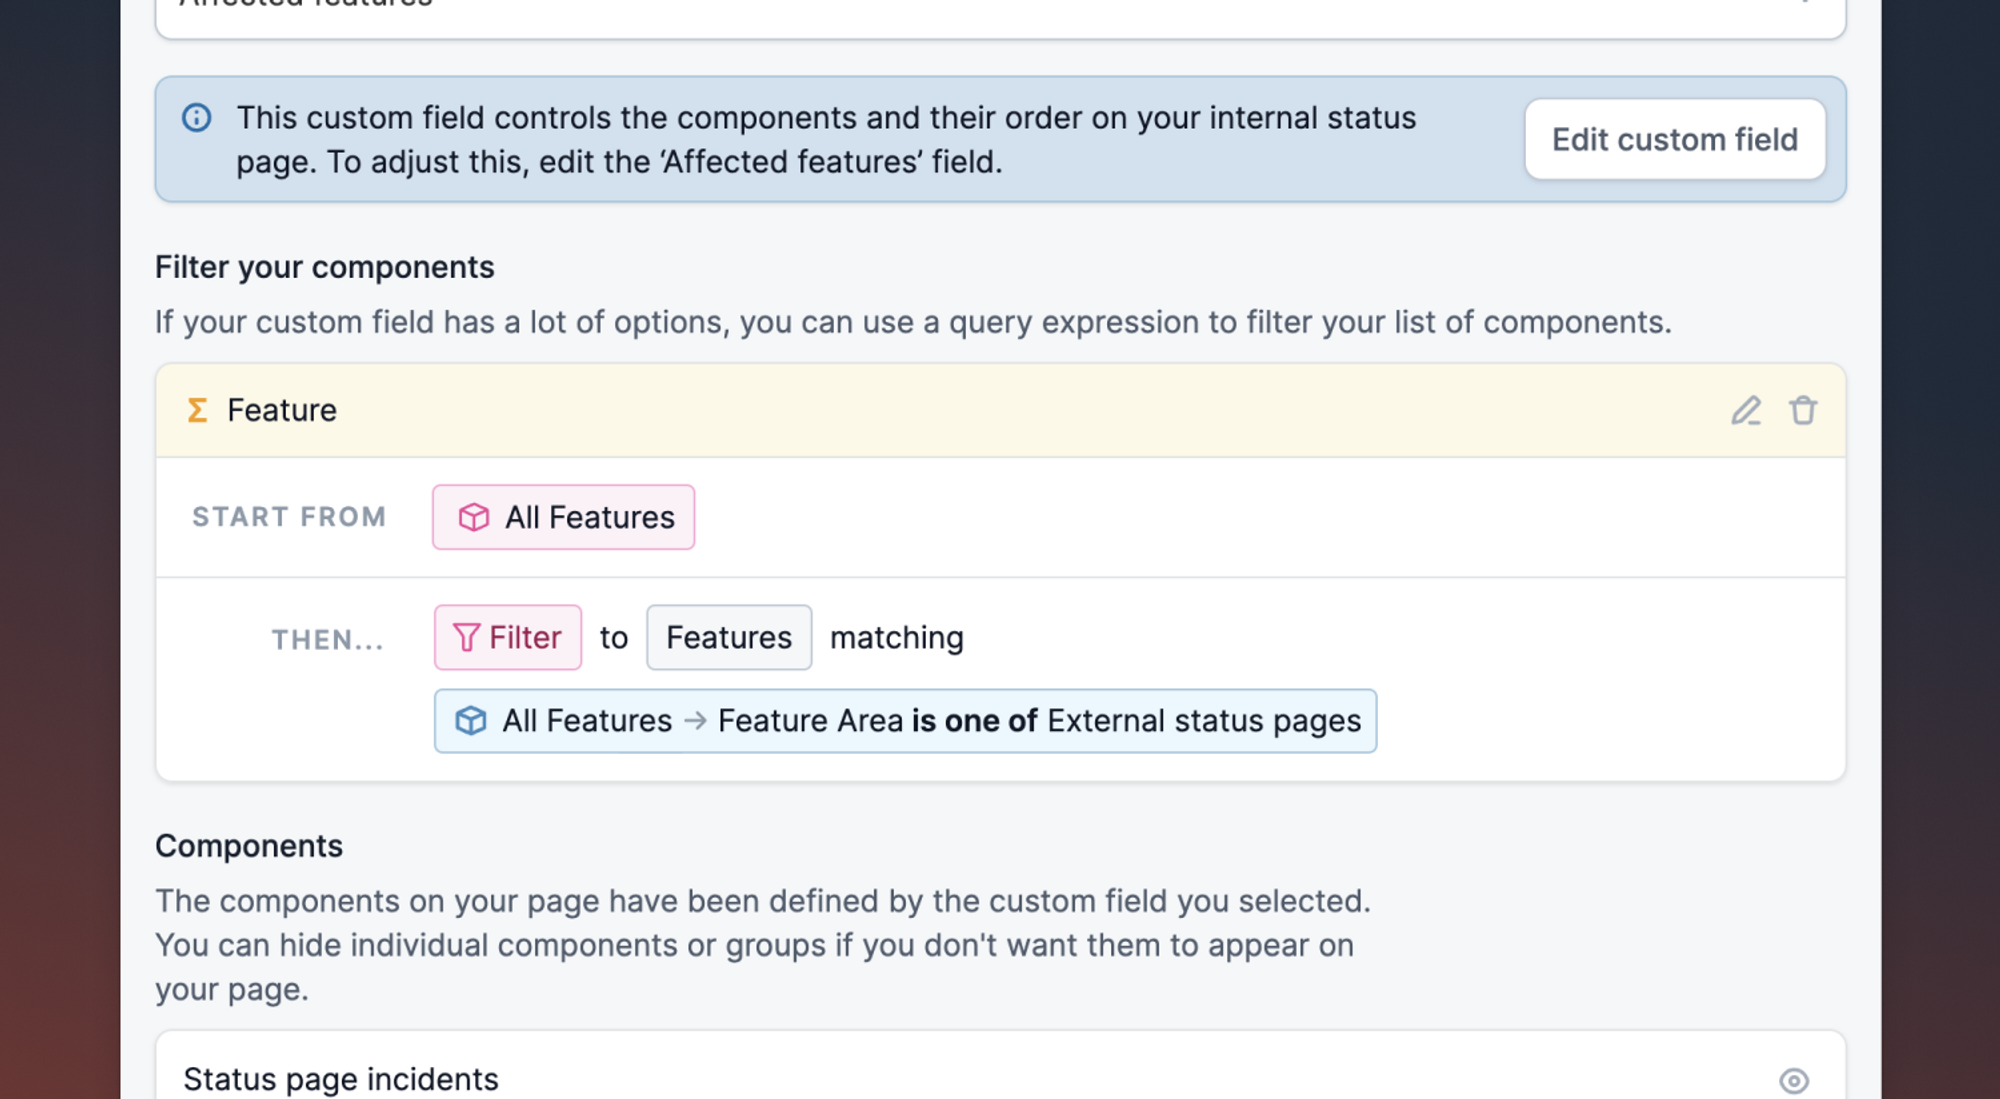
If you have an internal status page, you can now filter the components using a query expression. This makes it significantly easier to create internal status pages from a large catalog type by filtering on a specific catalog attribute.
For example, you can use this to filter internal status page components to only mirror the product features shown on your external status page.
🚀 What else we’ve shipped
New
- You can now specify an existing Slack channel when creating a retrospective incident
- Webhook for when a user is added to a private incident
- Webhook for when a user is removed from a private incident
- There new colours and icons to choose from when creating a catalog type
Improvements
- If you have a lot of users in your connected Jira account, you can now search through them more quickly
- Refreshed the incident updates and new incident emails for better comprehension
- We now link to your internal status page, if one exists, from your incident emails instead of the incident detail page in the dashboard
- SMS for incident updates will now only include severity if it has been changed
- Improved the look and feel when listing workflows
- You can now pull through teams and users managed by an identity provider in Cortex into your catalog
- Reduced the loading time for a number of settings pages (custom fields, roles etc.)
Bug fixes
- Workflows that trigger based off incident actions will now not run if the action has been converted to a follow-up
- Gracefully handle the case where rate limit is encountered when installing OpsGenie
- If you merge or decline an incident during the delay period of your workflow, we will now cancel the workflow from running on that incident
- Fixed a bug where certain expressions wouldn't show a preview
So good, you’ll break things on purpose
Ready for modern incident management? Book a call with one of our experts today.
We’d love to talk to you about
- All-in-one incident management
- Our unmatched speed of deployment
- Why we’re loved by users and easily adopted
- How we work for the whole organization


