Status page templates to simplify incident communication
February 29, 2024

As we’ve talked about a lot, concise and clear communication with customers is critical to building trust during an incident. But when you are communicating with customers via your public status page, you’ve probably got a lot of things on your mind.
To make sure your communication is top-notch, but also timely, it’s useful to prepare some pre-written messages in advance for common scenarios.
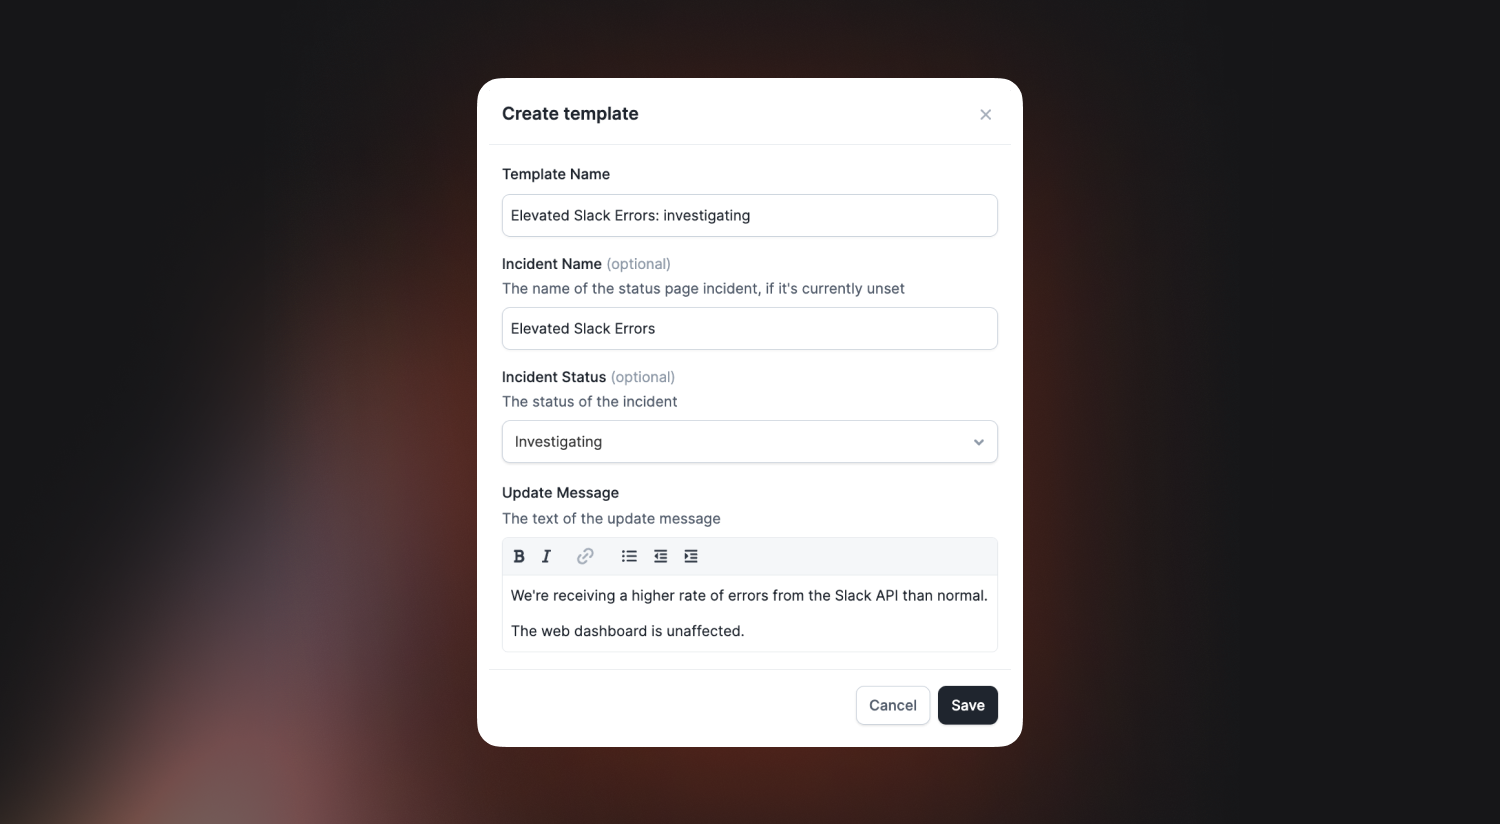
That’s why we’ve built a new kind of Status Page template: pre-defined updates. You can create a library of these templates which responders can choose from when publishing an update to your Status page.
Each update template can include an incident name, status and message content, which will be pre-filled so the responder can make small tweaks before publishing.

You can manage these in your Status page configuration, under Settings → Templates.

Auto-assign your post-incident tasks
Previously, post-incident tasks like Create the post-mortem needed to be picked up proactively. But now your post-incident tasks can be assigned automatically!
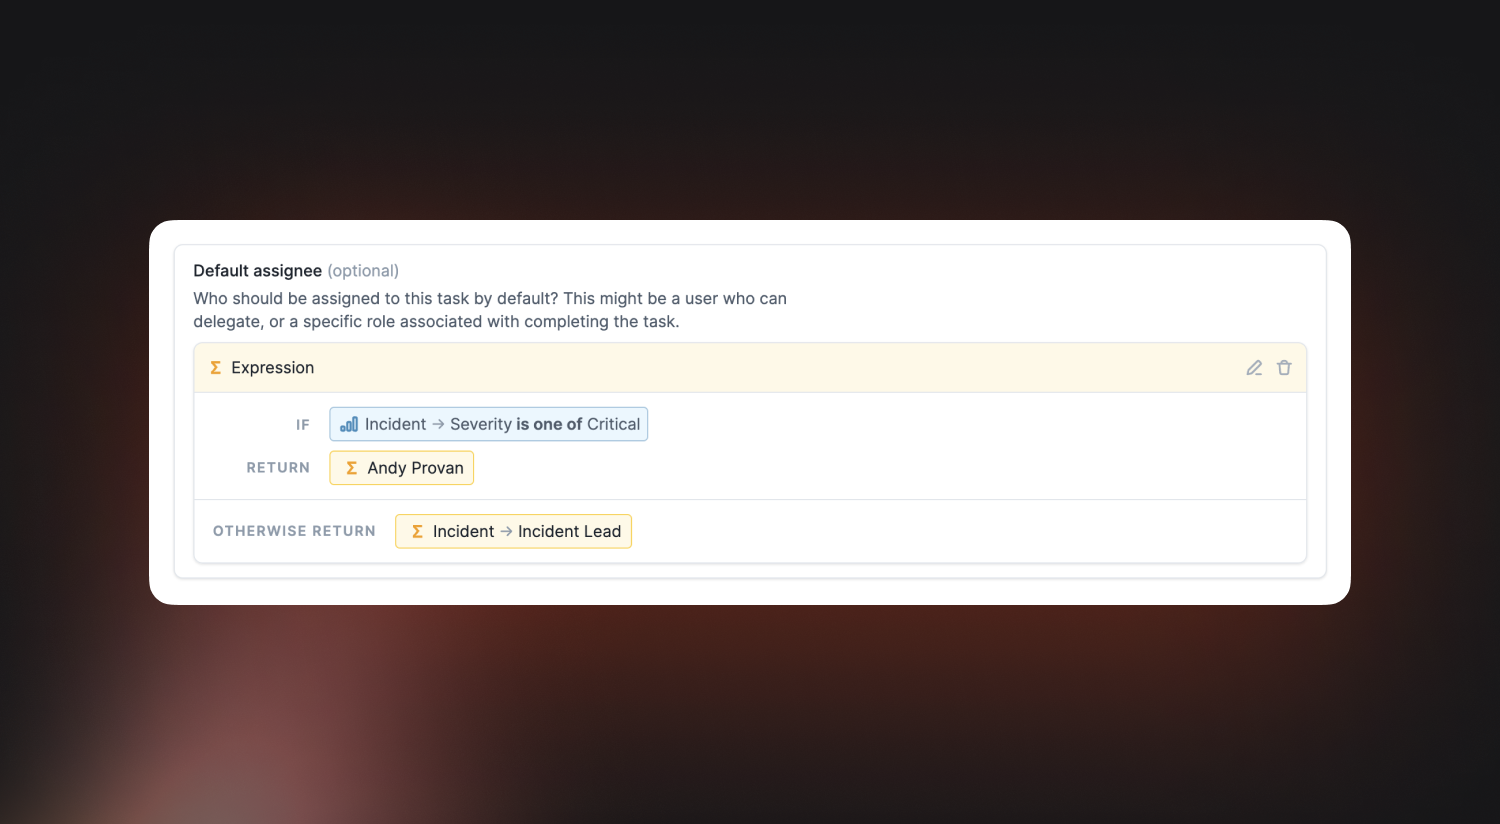
You can configure this for each task, so if you want a role like Debrief facilitator to be automatically assigned to the Schedule a debrief task, that is possible. You can even create an expression to assign different users under different conditions:

Our default is to assign the Incident Lead to your post-incident tasks, with the idea being that they'll delegate. You can change this in Settings > Post-incident flow by clicking "edit" on each task.
Subscribe via Workflow step
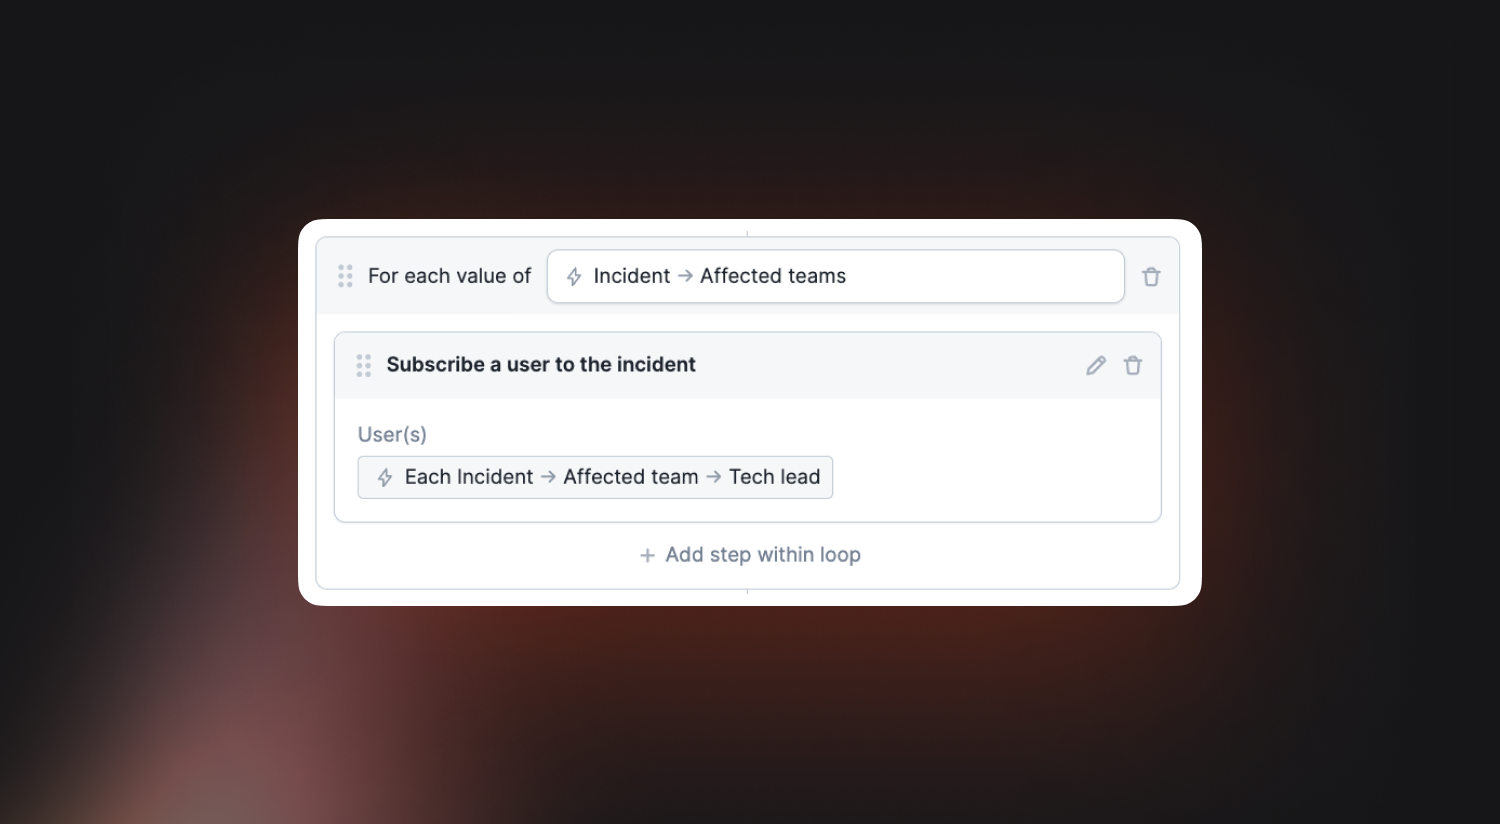
You can now create a workflow which subscribes particular users to an incident, based on certain conditions.
Previously, individuals could set up their own ‘auto-subscribe’ rules (e.g. subscribe me to any incident that affects my team).
Now you can subscribe other users to incidents based on conditions within your workflow, like this example where we will always subscribe the tech leads of the affected teams.
This allows you to ensure that the right people are notified about updates to the incidents most relevant to them.

Include paused durations in your metrics
Last week, we shipped the ability to pause incidents.
By default, any time that an incident spends paused is not included in your duration metrics. However, you might want to include this time in a particular metric if you’re interested in the total elapsed time (e.g. from a customer perspective) rather than the time spent working actively on the incident.
You can now choose to configure this for each metric, so you can control whether you include paused time or not. This can be configured in Settings → Lifecycle → Timestamps.

So good, you’ll break things on purpose
Ready for modern incident management? Book a call with one of our experts today.

We’d love to talk to you about
- All-in-one incident management
- Our unmatched speed of deployment
- Why we’re loved by users and easily adopted
- How we work for the whole organization


